Showing posts with label Lunch. Show all posts

Sunday, October 14, 2018

Building Your 3 Month Supply

Your 3 month supply should be made up of items your family buys and uses regularly. These are items you can buy at the grocery store and have a shorter shelf life than your long term supply. One method to building up your 3 month supply is to plan a week’s worth of meals (7 breakfasts, 7 lunches, 7 dinners) and then multiply the ingredients needs for those meals by 12. You’ll know exactly what you’ll need to buy to sustain your family for three months of food storage.

Let's Get Started!

1. Make a list of your family's favorite meals (or check out our lists below).

2. Convert your meals into a shelf stable version. You can use this chart to help you convert perishable items into shelf stable ones.

3. Take all the grocery items needed to make those meals and multiply them by 12. This means you will have enough food to make those meals for 12 weeks, or 3 months of food!

Friday, October 12, 2018

Split Pea Soup

Serves: 4
Start to Finish: 1hr 40min

Ingredients:
1 TBSP olive oil
3 TBSP freeze-dried onion, rehydrated
1 (5-oz) can smoked ham, drained
2 tsp garlic salt
⅛ tsp cayenne pepper
¼ tsp cumin
1 cup dried green split peas, rinsed, divided
4 cups chicken broth
1 (8-oz) can sliced carrots, drained
¼ tsp Kosher salt
¼ tsp pepper

Directions:
1. Rehydrate freeze-dried onion with ½ cup water for 10 minutes. Drain.
2. In a 4-quart stockpot on medium heat, heat olive oil.
3. Add freeze dried onion and smoked ham. Stir and cook for 5 minutes.
4. Stir in garlic salt, cayenne, and cumin. Cook for 2 minutes or until fragrant.
5. Add ½ cup split peas and chicken broth.
6. Bring to a boil, then simmer uncovered for 40 minutes. Skim off the foam while cooking.
7. Add the remaining ½ cup of split peas and continue to simmer for another 35 minutes. Stir
frequently to keep the solids from burning on the bottom.
8. Add the sliced carrots. Cook for another 5 minutes or until heated through. Stir gently so you
don’t break up the vegetables.
9. Add salt and pepper and serve.

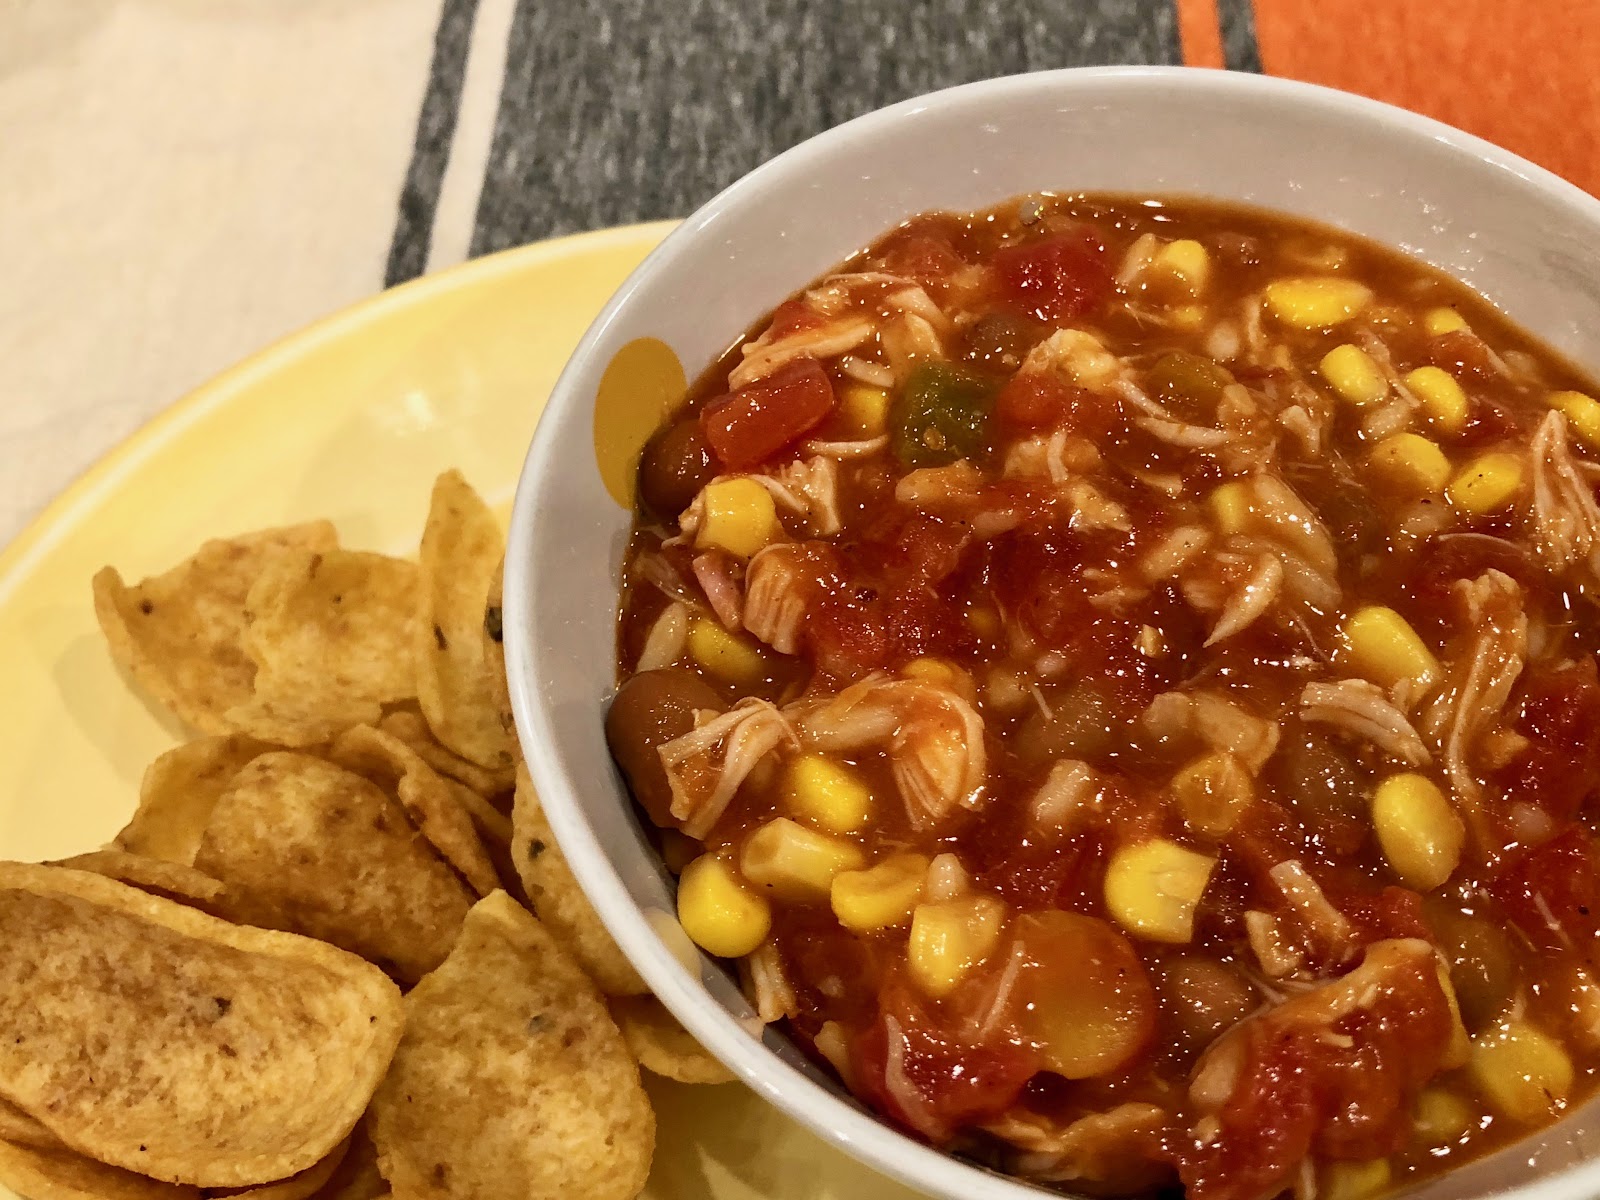
Southwest 6-Can Soup


Serves: 6
Start-to-Finish: 15 minutes
Recipe By: Katie at Livecrafteat.com

Ingredients:
Soup:
1 (12.5-oz) can cooked chicken
1 (10.5-oz) can chicken and rice soup
1 (10.75-oz) can tomato soup
1 (15-oz) can ranch style beans
1 (10-oz) can Rotel mild diced tomatoes and green chilies (I only add ¾ of the can)
1 (11-oz) can kernel corn
1 chicken bouillon cube
1 bag frito chips
In times of plenty:
sour cream
shredded cheese

Directions:
1. Empty all the cans into a pot, add the chicken bouillon and heat through.
2. While you’re waiting for the soup to heat up, grate some cheese, get out the sour cream, and
open a bag of fritos.
3. Top with chips and other garnishes and serve.

Tomato and Spinach Linguine

Serves: 6
Start-to-Finish: 25 minutes

Ingredients:
1 (12-oz) pkg dried linguine noodles, broken in half
2 (14-oz) cans petite diced tomatoes
¾ cup freeze-dried spinach
½ TBSP dried basil
½ TBSP dried oregano
4 cups chicken stock (if unsalted use ½ tsp Kosher salt)
½ tsp minced garlic
2 TBSP olive oil
2 pinches red pepper flakes
fresh black pepper
parmesan cheese, grated (garnish)

Directions:
1. Add all ingredients (except cheese) to a large pot, make sure liquid is covering everything.
2. Cover and bring to a boil.
3. Once boiling lower heat to simmer and remove lid.
4. Cook for 10 minutes, don't “stir” but use a wooden spoon to keep noodles from sticking to
bottom of pot by occasionally moving spoon along the bottom of pot.
5. Cook until most of the liquid is absorbed and noodles are soft.
6. Serve with Parmesan cheese.

Tuesday, September 18, 2018

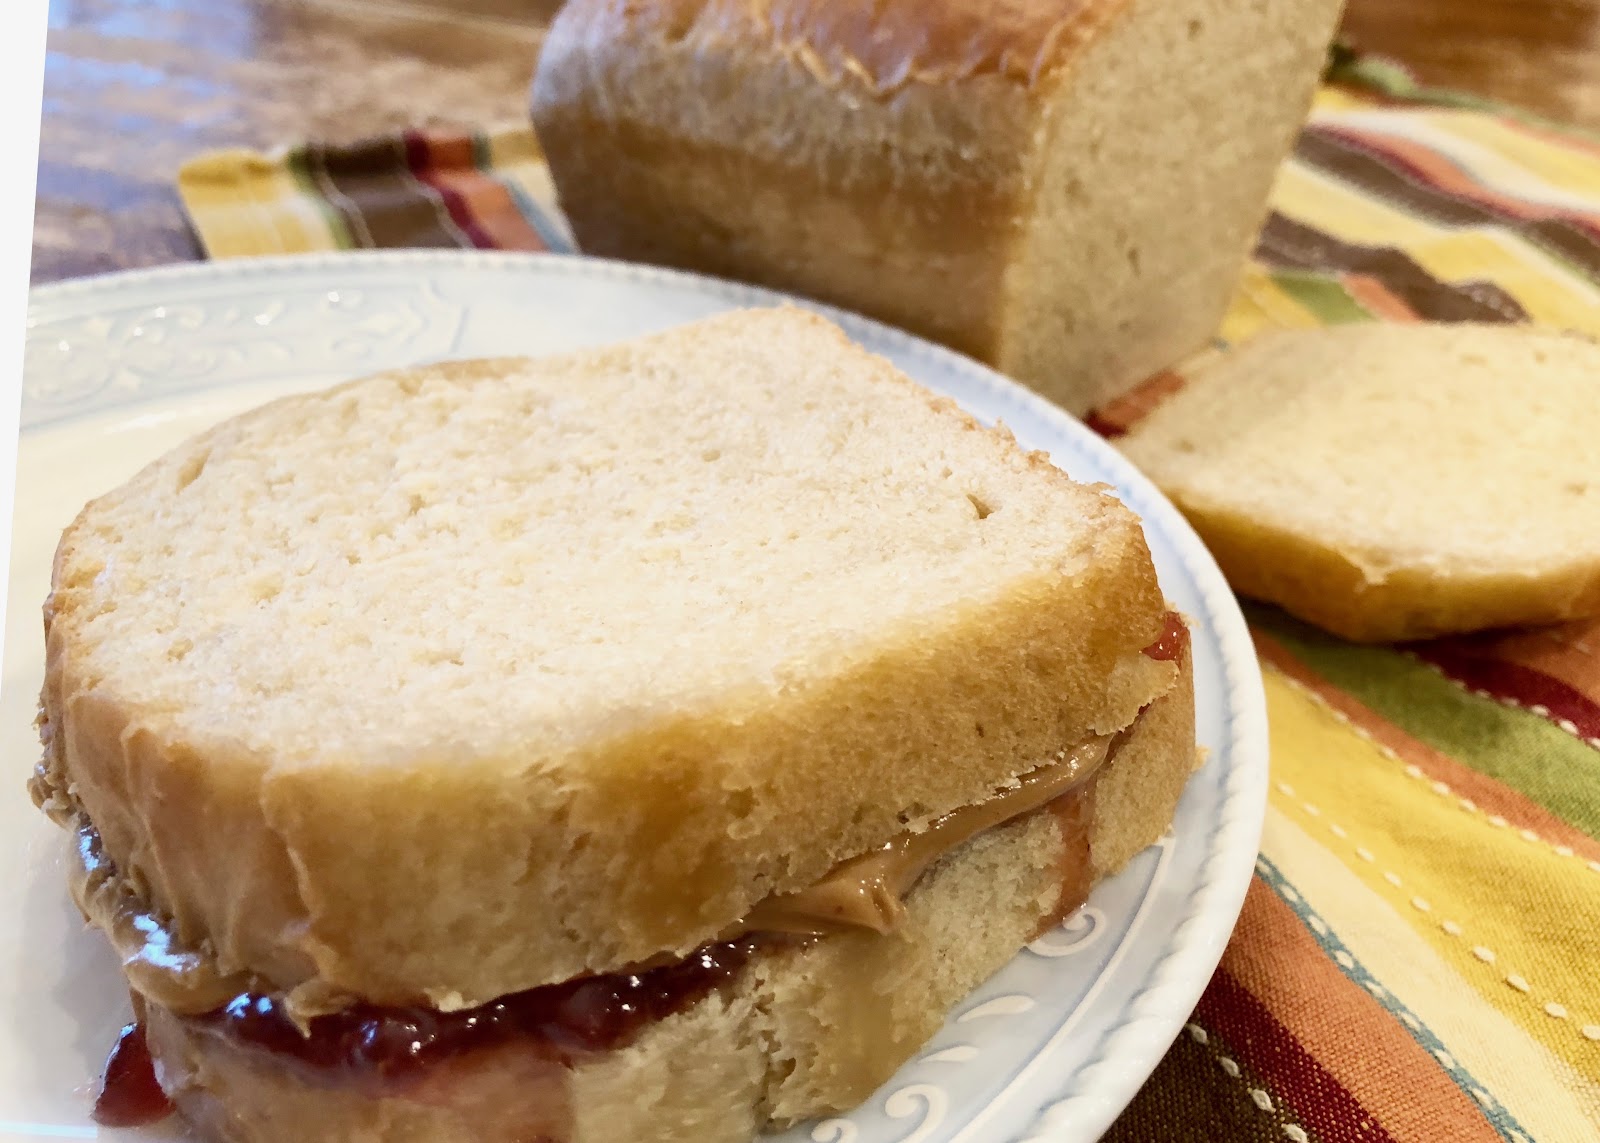
Peanut Butter and Jelly Sandwiches

Start-to-Finish:10 minutes
Serves: 4

Ingredients:
4 TBSP jam/jelly
8 TBSP peanut butter
8 slices sandwich bread

Directions:
1. Spread 2 TBSP of peanut butter evenly onto one slice of bread using a knife.
2. Spread 1 TBSP of jam/jelly evenly onto another slice of bread.
3. Press the two slices of bread together.
4. Repeat for remaining slices of bread.

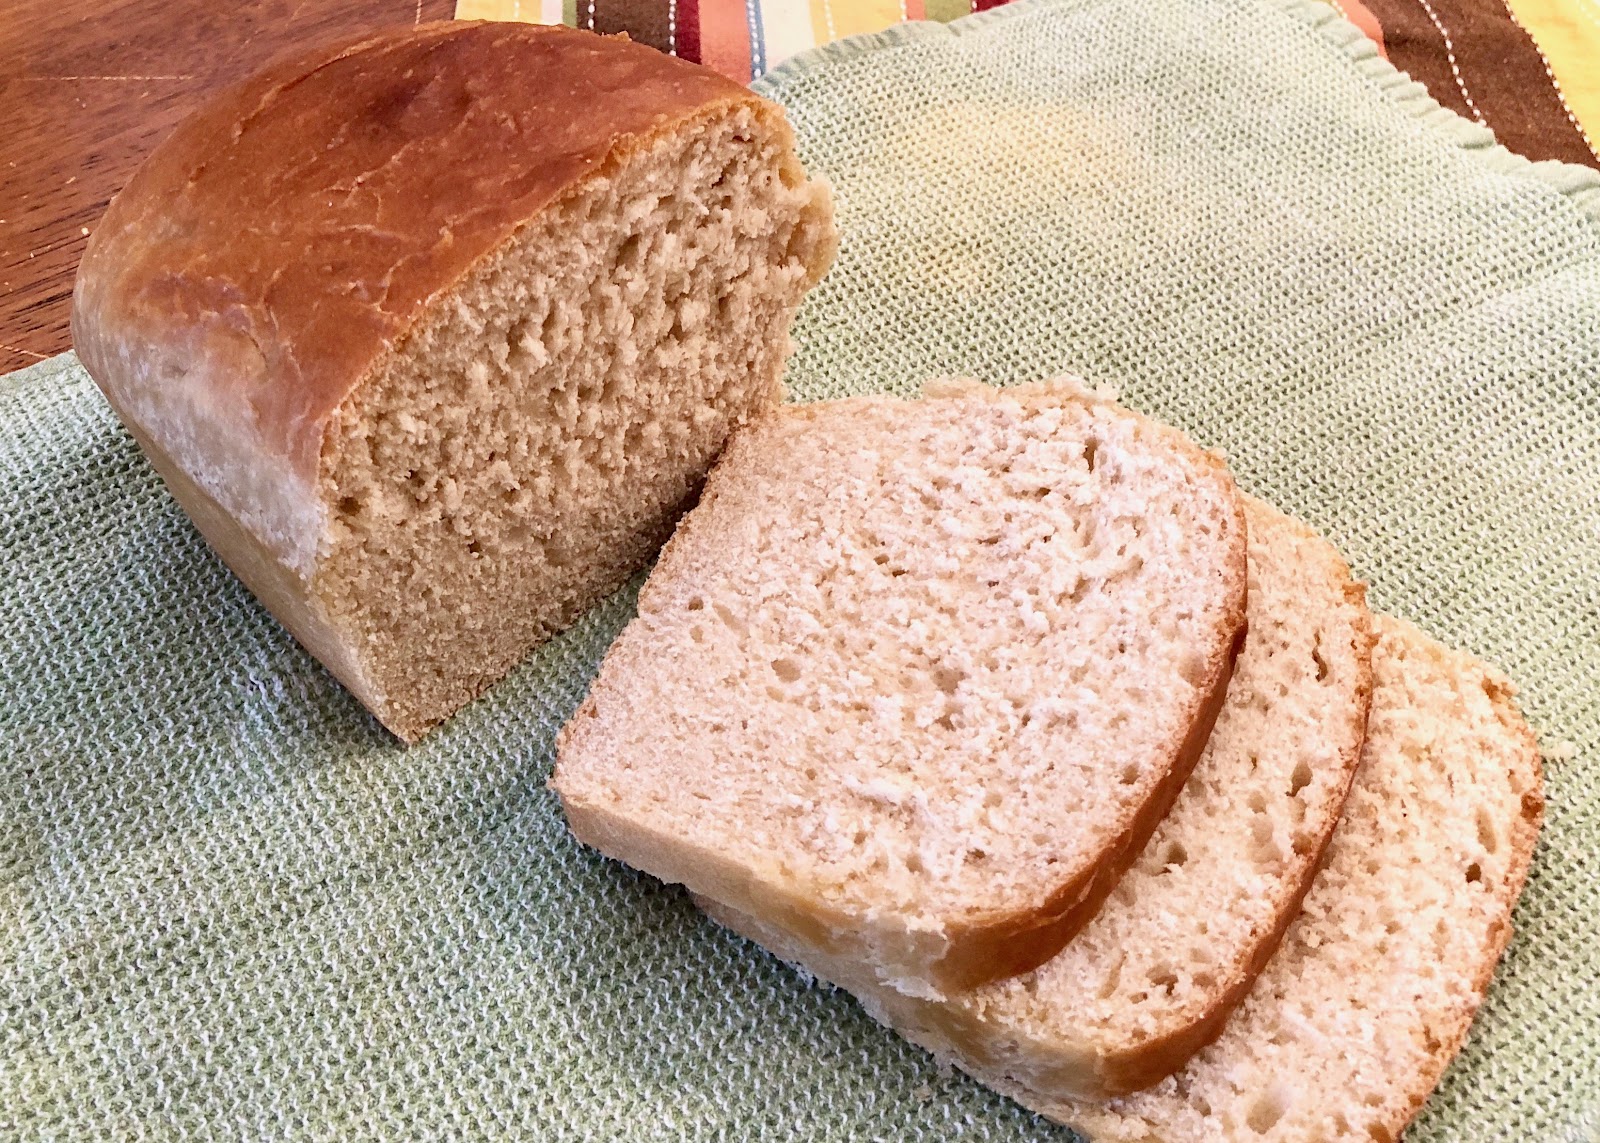
Sandwich Bread

Start-to-Finish: 3 hours
Recipe By: Connie Armstrong
Serves: 2 large loaves

Ingredients:
2 1/2 cups hot water
1/3 cup oil
1/3 cup sugar/honey
1 TBSP salt
3/4 cup flour plus 5-7 cups of flour (divided)
1 1/2 TBSP yeast (any kind)
Spray oil

Directions:
1. In a stand mixer bowl, add water, oil, sugar/honey, and salt.
2. Whisk together by hand. (You aren’t using the stand mixer yet.)
3. Add 3/4 cup flour and whisk for 30 seconds.
4. Add yeast and whisk for 30 seconds more.
5. Add 2 more cups of flour and whisk until thoroughly combined.
6. You are done using the whisk. With the dough hook attachment on your stand mixer, let the
mixer combine the rest of the flour 1 cup at a time until the dough starts to comes away from
the sides of the bowl and lump around the hook. (The total flour should amount to 5-7 cups---
this does not include the flour used in step 3.)
7. With a dough hook at low speed, knead the dough for about 5 minutes. (After kneading, the
dough should be springy and smooth. If it is still sticky, let the dough rest for 15 minutes then
try kneading it again.)
8. Let rise in a clean, greased, covered bowl for 30 minutes, or until doubled in size.
9. Grease the bread pans and the counter with spray oil.
10. When the dough has finished rising, dump it out onto the greased counter and divide the
dough in half.
11. Shape one ball of dough by patting it down into a rectangle.
12. Roll the rectangle into a tight cylinder, tuck the ends under, and place it in a greased
bread pan. Repeat.
13. Preheat your oven to 350°F and let the dough rise for about 45 minutes or until it has risen
to fill the pans.
14. Bake for about 45 minutes. Use a thermometer! Fully baked sandwich bread should be
between 190°F and 210°F in the middle. If you are worried that the crust is getting too brown,
cover it with a piece of foil.
15. Turn out on a wire rack and let cool completely before cutting. Smother the top of the
loaves with butter or shortening if you desire.

Notes and Tips:
If you use half all-purpose flour and half wheat flour it takes slightly longer to raise and cook. If
you use all wheat flour the rising and cooking time almost doubles.

If you can slip the loaf out of the pan and thump the bottom (not the top) a fully baked loaf will
sound hollow. If you're ever in doubt, err on the side of caution and bake your loaf 5 minutes
longer.

The cool-down period is still part of the cooking process: moisture inside the bread continues
to evaporate and the interior structure continues to firm up. Cut into the loaf too soon, and the
bread may seem soggy or under-baked in the middle, and your leftover bread will stale more
quickly. A loaf can take around two hours to fully cool. The bread should no longer feel warm
on the sides or bottom when you touch it.

Times for rising and baking are approximate. Weather, altitude, oven, and moisture content of
your flour, etc. can all affect how your dough will rise and bake. Check to see that the dough
has at least doubled for the first rise, filled the pan for the second rise, and that the you hear
the hollow sound on the bottom of the bread to know when it is done baking. All these
indicators supersede any time estimates.

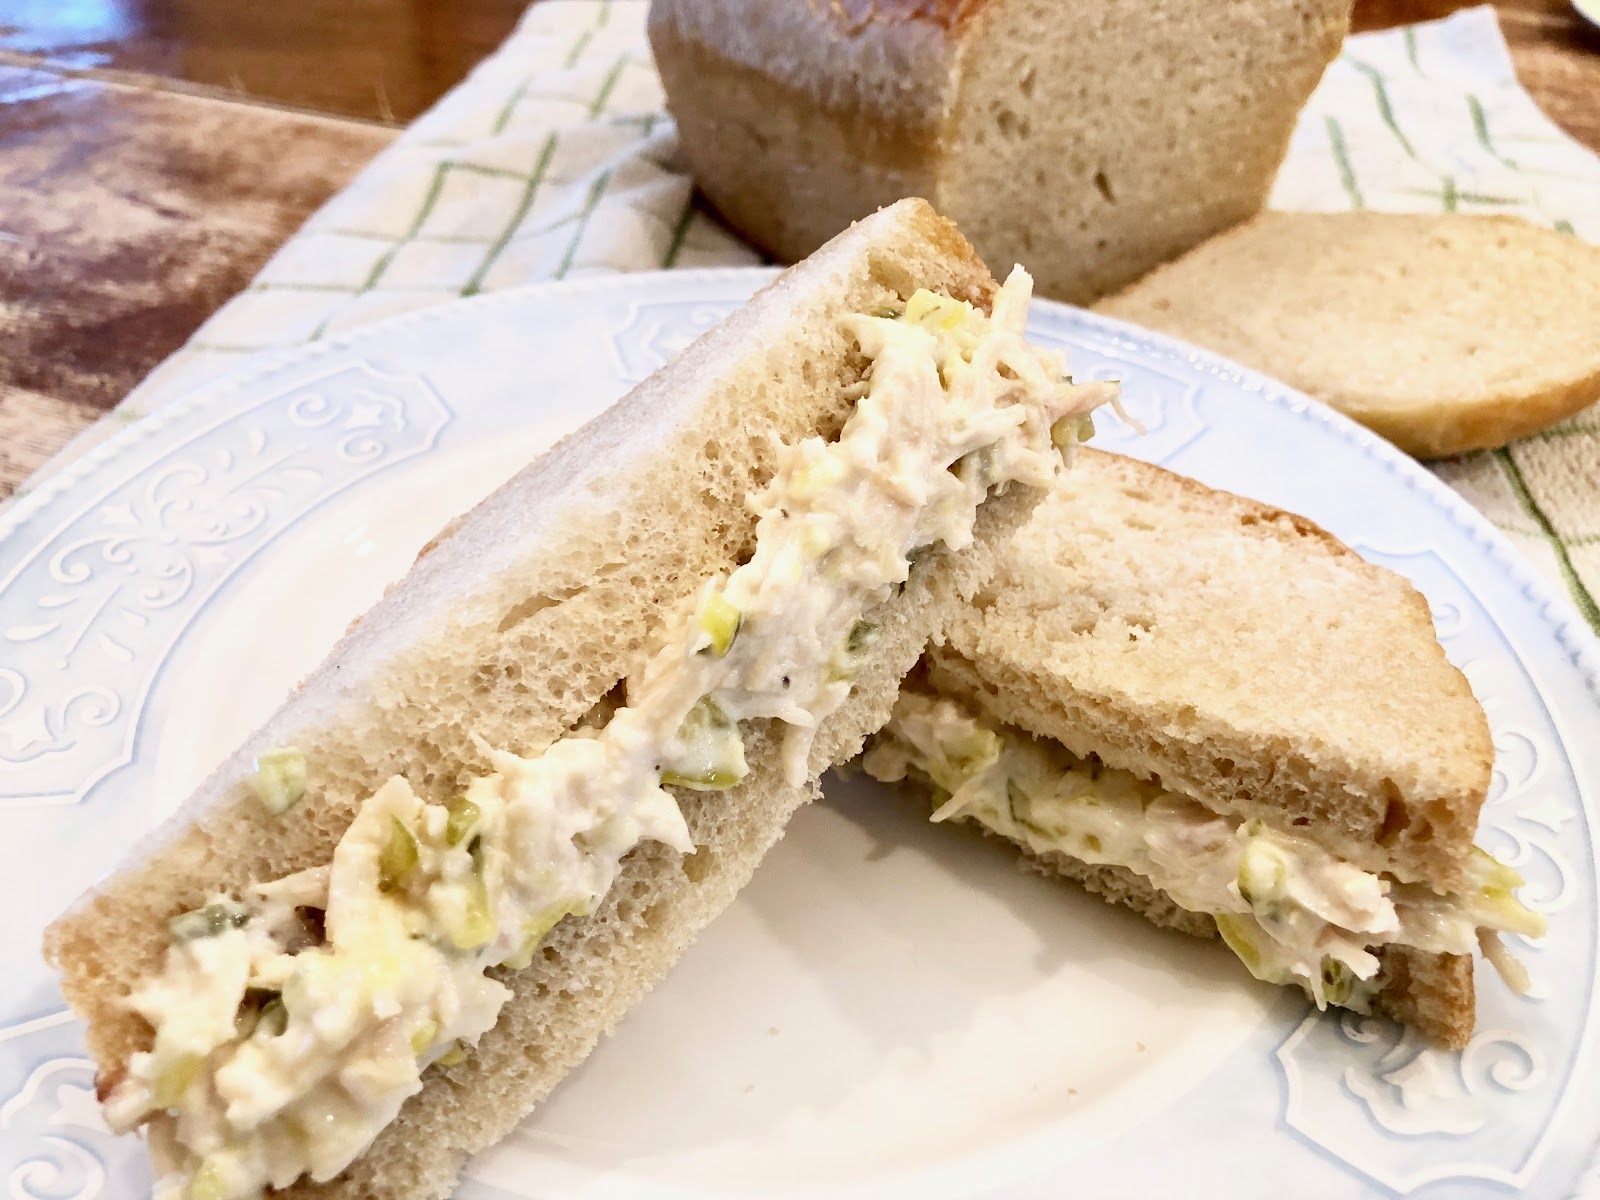
Tuna Sandwiches

Start-to-Finish: 10 minutes
Serves: 4

Ingredients:
2 (6-oz) cans white albacore tuna in water, drained
2 TBSP sweet pickle relish
½ cup mayonnaise or salad dressing
1 tsp lemon juice
1 tsp lemon pepper seasoning
¼ tsp salt
8 slices sandwich bread


Directions:
1. In a medium bowl, mix the tuna, sweet pickle relish, mayonnaise, lemon juice, lemon

pepper seasoning, and salt.
2. Spread ¼ of the tuna mixture on 4 bread slices. Top with remaining bread slices

Creamy, Beany, Tortellini Chowder

Start-to-Finish: 40 minutes
Serves: 6


Ingredients:
2 TBSP vegetable oil
3 TBSP freeze-dried chopped onion, rehydrated
3 TBSP all-purpose flour
4 cup chicken broth, divided
1 TBSP dijon mustard
1 bay leaf
1 TBSP chicken bouillon granules
1 tsp dried parsley
½ tsp garlic powder
½ tsp dried oregano
½ tsp dried thyme
½ tsp ground cumin
¼ tsp pepper
¼ tsp red pepper flakes
1 (8.8-oz) bag cheese tortellini
1 TBSP cornstarch
1 (15-oz) can cannellini beans, rinsed and drained
1 (8.5-oz) can sliced carrots, drained
½ (7-oz) can media crema
salt and pepper to taste


Directions:
1. In a small bowl, combine ½ cup of chicken broth with freeze-dried chopped onion to
rehydrate, let sit for 5 minutes.
2. Drain and rinse cannellini beans and drain carrots.
3. Meanwhile, in a soup pot heat up vegetable oil.
4. Strain freeze-dried chopped onion; reserving the chicken broth for later.
5. Add onion to the hot oil and saute for 2 minutes until fragrant.
6. While whisking, sprinkle in flour; stirring constantly for 2 minutes (it will be thick).
7. Continue whisking while slowly adding 3 ½ cups chicken broth.
8. When broth is well incorporated, add dijon mustard, bay leaf, chicken bouillon granules,
parsley, garlic powder, oregano, thyme, cumin, pepper, red pepper flakes, and tortellini
noodles.
9. Gently boil the tortellini noodles for 15 minutes while occasionally stirring down the tortellini.
10. Whisk together reserved ½ cup chicken broth and cornstarch and add to soup.
11. Stir cannellini beans, carrots, and media crema into soup.
12. Cook for an additional 5 minutes or until the inside of the tortellini is soft.
13. Remove bay leaf and serve with crusty bread or chowder crackers
14. Season with salt and pepper to taste.

Wednesday, January 9, 2013

Chicken Salad Sandwiches

Recipe By: Food Storage and Beyond
Serves:  8 Sandwiches

Ingredients:
1 quart canned chicken, drained and rinsed
1 TBSP olive oil
1-2 TBSP McCormick’s Grilled Chicken seasoning (I like the Montreal style)
1 cup mayonnaise or salad dressing (Miracle Whip)
1/8 tsp freshly ground black pepper
1/8 tsp garlic powder
1/8 tsp celery salt
2/3 cup dried cranberries
2/3 cup sliced almonds, toasted (or salted cashews, roughly chopped)
bread of your choosing (croissants, rolls, sliced bread, pita, etc.)

Optional Fresh Ingredients:
2 celery stalks, sliced
1/2 cup grapes, sliced
1/2 cup apples, diced  

Directions:
1. In a large saucepan, heat up the oil.
2. Add the chicken and seasoning and lightly saute for about 2 minutes.
3. Remove pan from heat.
4. In a large mixing bowl, combine the mayo (or salad dressing), pepper, garlic powder, and celery salt.
5. Mix until well combined.
6. Then toss in the chicken, dried cranberries, nuts, and any of the other ingredients you are using. (Note, if you are going to be using a lot of extras, you may want to boost the amount of mayo to help keep everything moist and together.)
7. Chill for one hour (or more) prior to serving.
8. You could even make it a day in advance and just keep it chilled until ready to serve.
9. To serve, simply slice your bread of choice and put on a thick layer of the chicken salad.